Par Clémentine Grosset
24 oct. 2024
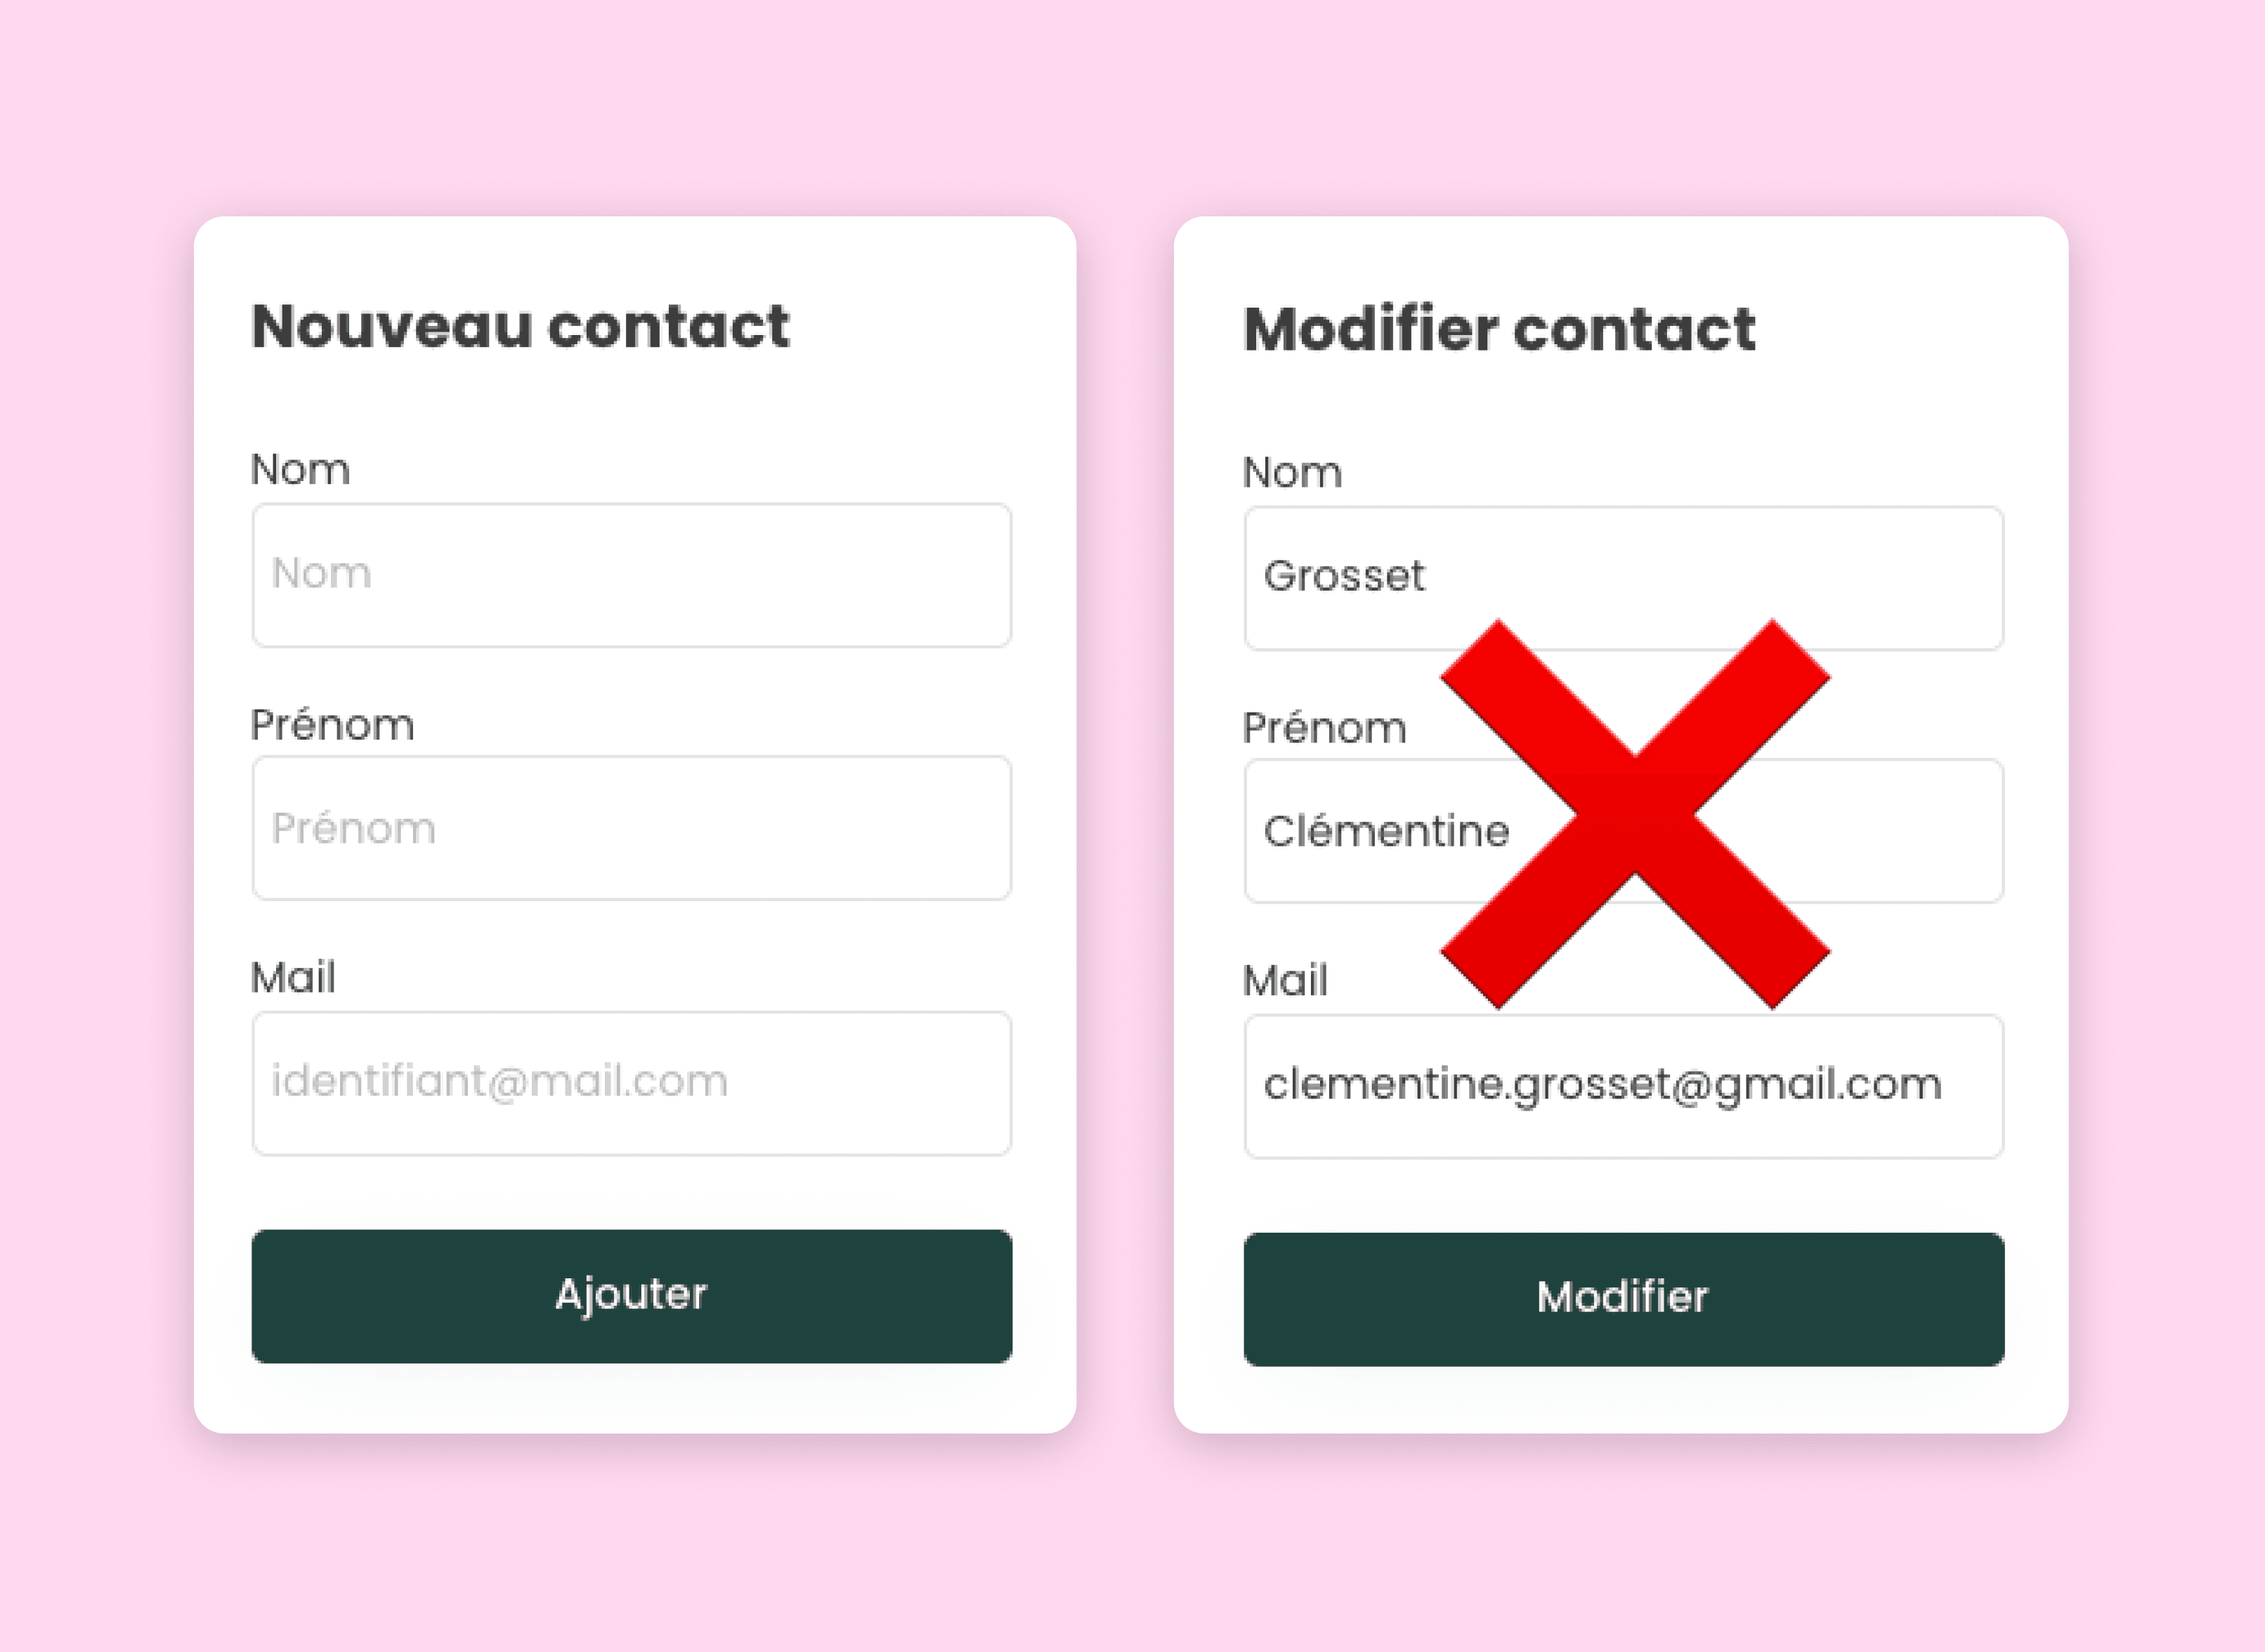
When developing on Bubble, it's often tempting to create two separate modals: one for adding new data and another for modifying existing data. However, if you want to enhance user experience and save time, it's preferable to use a single popup for both actions. In this article, I will show you why this approach is more efficient and guide you step-by-step on how to implement it in your Bubble application.
Why is it better to have only one modal?
Optimizing User Experience (UX)
Using a single popup simplifies navigation for your users. They don’t have to get used to two different interfaces to accomplish similar actions, making the experience smoother and more intuitive.
Time-saving in Development
Creating and maintaining two modals means double the work: you have to set up workflows, conditions, and visual elements twice. With a single popup, you only have one interface to manage, allowing you to focus on other tasks.
Cleaner Code and Design
By consolidating the two modals into one, you lighten your visual editor and workflows. Less repetition means fewer bugs and easier maintenance in the long run.
How to create a single popup for adding and modifying data in Bubble: a step-by-step guide
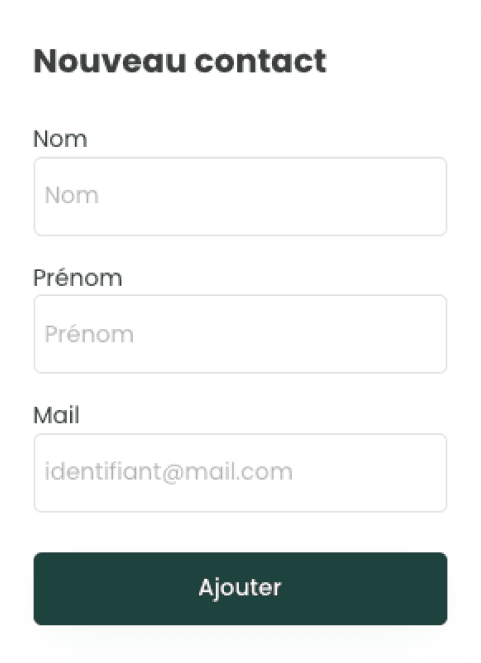
To guide you, I will take the common example of a contact add/edit popup in a CRM.
Step 1: Add a popup in your app
Start by creating a new popup in your Bubble application. This popup will serve both to add and modify data.

💡 Tip: Make sure to fill in the Type of content for your popup—in my case, it’s my data type "Contact".
Step 2: Create a custom state for the popup
Add a custom state to the popup, which will allow you to define the state of your popup based on how you are opening it (via an add or edit button).
This custom state, which you can call "mode", will determine whether the popup is in "add" or "edit" mode.
💡 Tip: You can also use a custom state of type yes/no since there are only two available modes: Add/Edit.
Step 3: Configure the popup elements based on the "mode" custom state
Use dynamic conditions to change the header text based on the custom state. By default, it displays "New Contact". If the mode is "edit", display "Edit Contact".
For the inputs (name, email, phone, etc.), set the initial content so that it displays existing data when in "edit" mode. Otherwise, the inputs will remain empty for adding new entries.
For the button, it’s the same principle as for the header: by default, it displays "Add", but if the mode is "edit", it displays "Save".
Step 4: Configure the workflows for adding and editing
To save your data to the database, you will add a single workflow, in which you will add conditional steps:
Step 1: Save the data to the database—creating a new contact when the popup is in "add" mode.
Step 2: Save the data to the database—modifying the contact displayed in the popup when the popup is in "edit" mode.
This workflow will use the same popup information but perform different actions based on the mode defined by the custom state.
Step 5: Send the mode information to the popup
It’s at the moment of opening the popup that you will define its mode.
You will create a first workflow for the "add contact" button:
Step 1: Reset the inputs of the popup.
Step 2: Open the popup.
Step 3: Set the custom state mode to "add".
Then, you will create a second workflow that comes from your display table to open the contact:
Step 1: Reset the inputs of the popup.
Step 2: Open the popup.
Step 3: Display the data of the contact in the popup.
Step 4: Set the custom state mode to "edit".
… and tadaaaaaa 🎉
If you’ve followed all the steps, you should end up with a single popup that allows you to both add new data to the database and modify existing data!
If you have any questions, leave me a comment 👇
Commentaires

I am Clémentine Grosset, a product designer and product builder. I help project leaders and businesses take off their operations by creating custom web applications with Bubble.
